VSeed, an elegant data composer, transforming complexity into simplicity.
!!!###!!!title=A Basic DSL——VisActor/VStory tutorial documents!!!###!!!!!!###!!!description=In the previous chapters, we have roughly understood how to quickly create a VStory work. This tutorial will use a simple dashboard as an example to introduce the basic components of a VStory DSL in detail. A basic DSL should include the following parts:1. `character`: the characters used in the work2. `acts`: the different behaviors of characters at different timesBy the end of this tutorial, we will achieve the effect shown in the image below:!!!###!!!
A Basic DSL
In the previous chapters, we have roughly understood how to quickly create a VStory work. This tutorial will use a simple dashboard as an example to introduce the basic components of a VStory DSL in detail. A basic DSL should include the following parts:
character: the characters used in the work
acts: the different behaviors of characters at different times
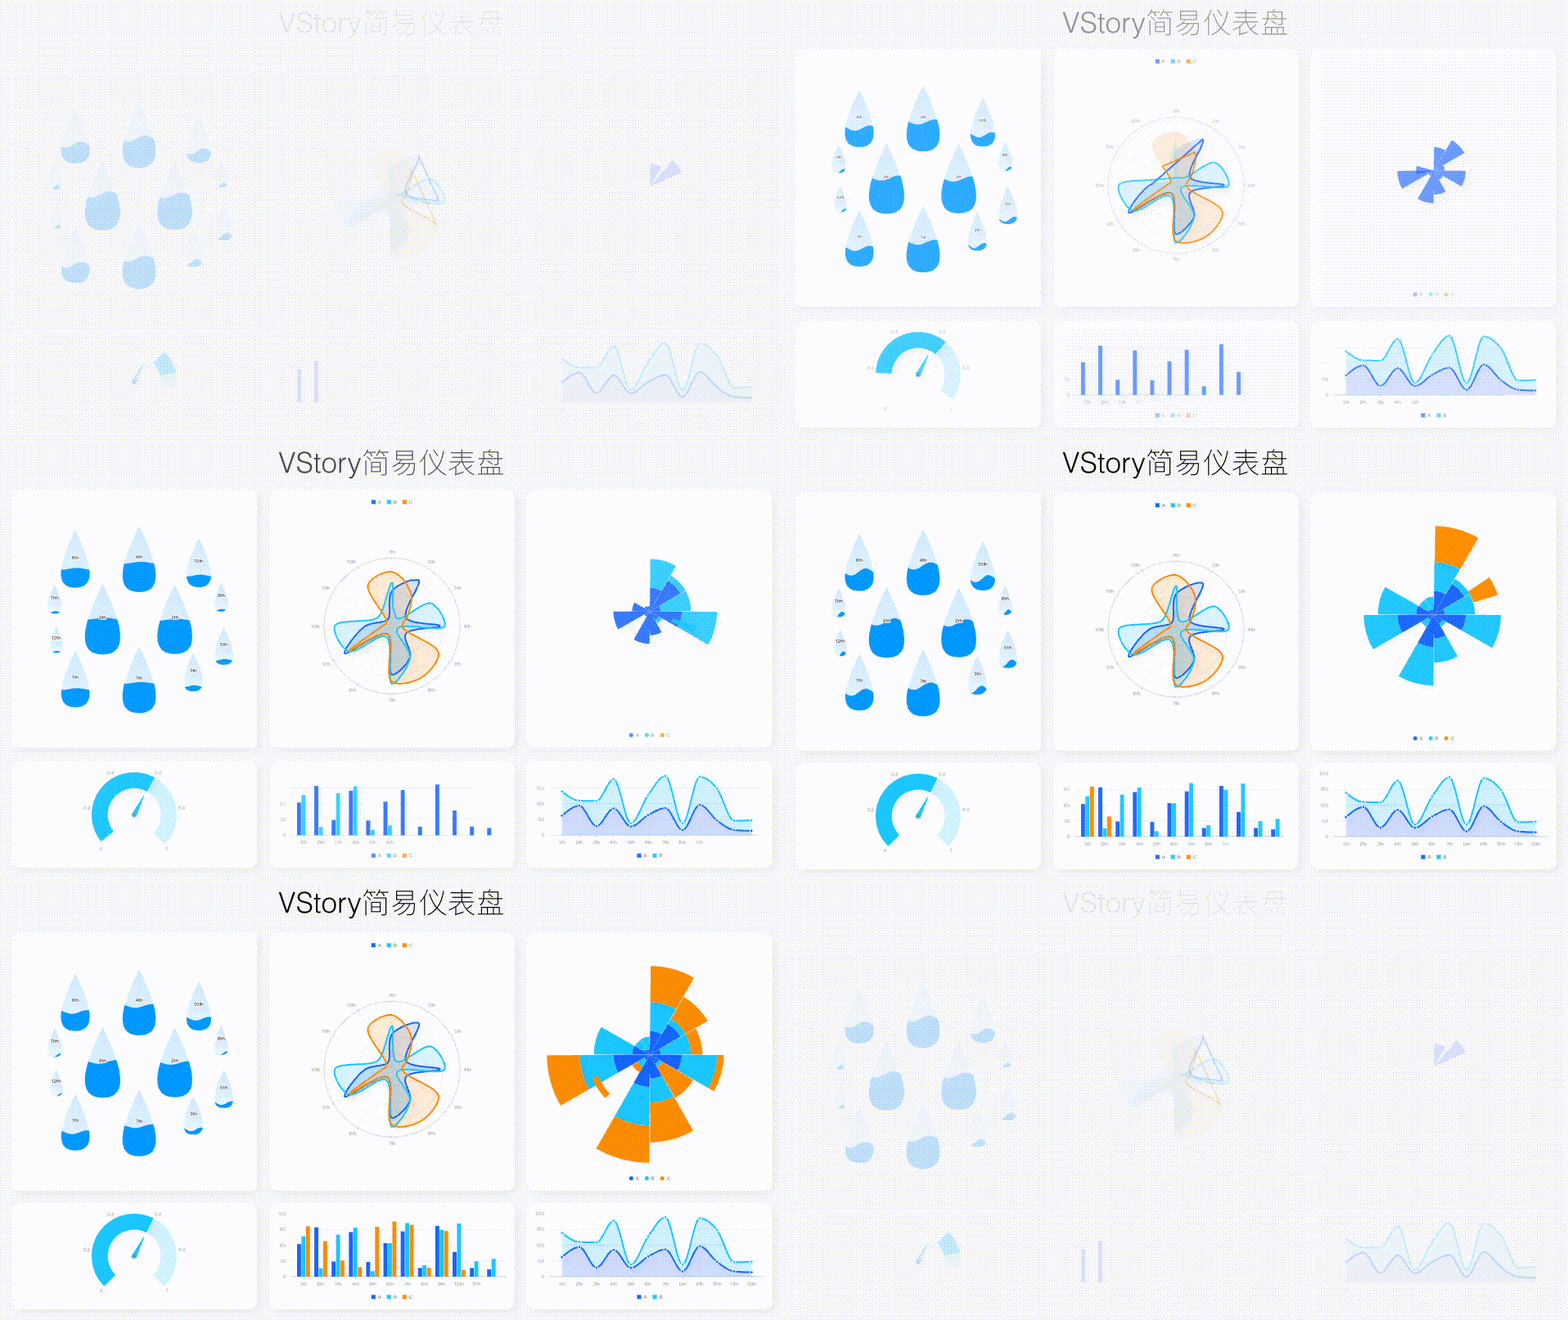
By the end of this tutorial, we will achieve the effect shown in the image below:
1. Material Preparation
A dashboard will contain various charts, as well as modules such as titles and tables. Some of these modules can be implemented using specific characters provided by VStory, while others can be configured using VChart. In this tutorial, we will simplify the material preparation process and provide all the chart specs needed.
A simple bar chart based on VChart
A simple area chart based on VChart
A simple radar chart based on VChart
A simple rose chart based on VChart
A simple gauge chart based on VChart
Use a Text type from VStory as the title
Use a WaveScatter chart type from VStory
2. Assembly
Next, we will assemble these materials into a large canvas of VStory, forming a complete work. We will use a canvas size of 1920 * 1080, with a margin of 30px between the charts and a margin of 30px from the left and right borders. The specific layout is shown in the image below:
After designing the layout, we will start writing the DSL to achieve the effect shown in the image above. The DSL core includes an array of character and an array of acts. The character array contains all the elements in the work, and the acts array contains various actions of the characters. The interface definitions are as follows:
The characters array only defines the elements available in the work, but the specific actions are not defined yet. If actions are not defined, the elements will not be displayed. Therefore, we will define the acts array next. We expect the elements in the work to have the following actions:
The bar chart and rose chart will have an appear animation effect with oneByOne (one by one) for the elements, while other charts will have the default appear animation effect.
The panels containing the charts themselves should also have a bounce animation effect with appear.
Since the actions are simple, only one scene is needed to complete each act.
Now that we have completed the steps to create a simple dashboard, we will combine the character and acts arrays to form a DSL, and then use VStory to play it.
// 注册所有需要的内容VStory.registerAll();
// 创建一个VStory实例,将DSL传入const story = new VStory.Story(dsl, { dom: CONTAINER_ID, background: '#ebecf0' });
// 创建一个player实例,用于播放这个Storyconst player = new VStory.Player(story);
story.init(player);
// 开始播放,传入1表示循环播放// 传入0表示单次播放,播放到结束时间就停止// 传入-1表示单次播放,但是播放结束后,时间会继续往后走,不会停止// 我们这里因为有一个永久在播放的波浪动画(wave),所以这里传入-1,不循环,但是时间不停止player.play(-1);
By following this tutorial, you have learned the components of a basic DSL configuration. You can now try modifying the character and acts arrays to explore the powerful features and flexibility of VStory, creating colorful and vibrant works. Happy coding!