It is not only a fully functional graph visualization library, but also an explorer of data relationships.
!!!###!!!title=Custom Graphic——VisActor/VRender tutorial documents!!!###!!!!!!###!!!description=VRender provides a variety of graphic elements, but sometimes we need to customize graphic elements, such as needing a graphic element that can play [Lottie](https://lottiefiles.com/) animations. In this case, we need to customize graphic elements. Customizing graphic elements in VRender requires the following steps:1. Define a graphic element class, which is a subclass of `Graphic`. Of course, you can also directly inherit from an existing graphic element class, such as `Rect`, `Circle`, etc.2. Implement the drawing logic of the graphic element, which is used for the drawing operations of the graphic element. This class is a subclass of `BaseRender`. Similarly, you can also directly inherit from an existing graphic element rendering class, such as `DefaultCanvasRectRender`, `DefaultCanvasCircleRender`, etc.3. Implement the picking logic of the graphic element, which is used for the picking operations of the graphic element. This class implements the `IGraphicPicker` interface. If your graphic element is in the shape of a rectangle, you can directly inherit from `RectPickerBase`. Note that in some scenarios (such as mini-programs), picking based on Canvas is not supported, so you need to implement a set of `MathPicker` logic. However, all picking logics are not complicated, and we will explain them in detail in the following sections.Next, we will use registering a `Lottie` graphic element as an example to explain how to customize graphic elements. All the code is in the `@visactor/vrender-kits` package, and the effect is demonstrated below.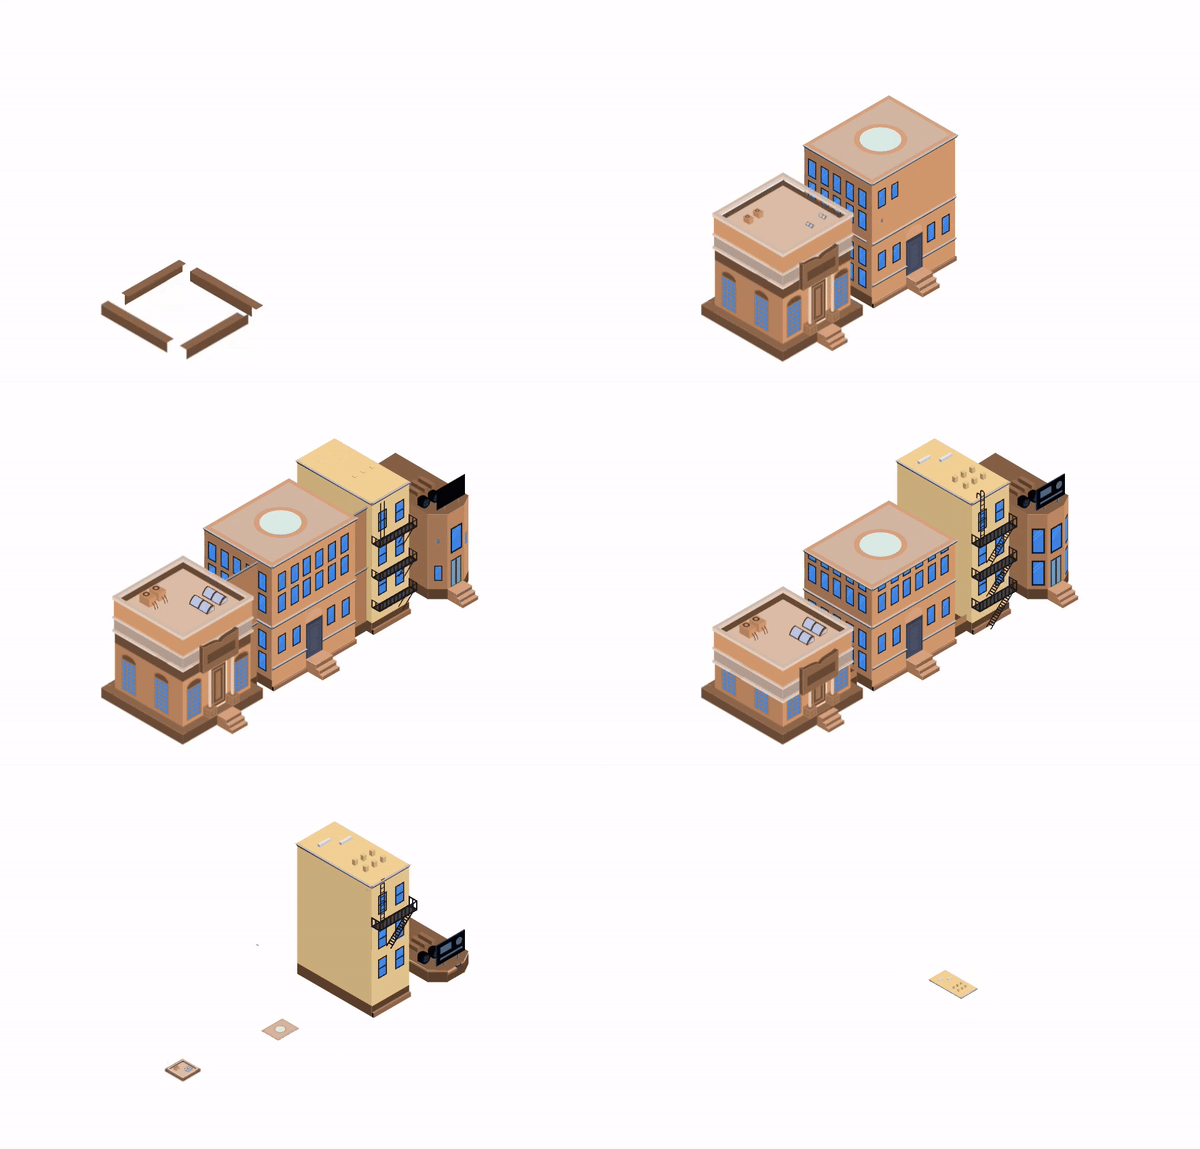Note: Before reading this section, it is recommended to read the [Graphic](./Graphic) section first.!!!###!!!
Custom Graphic Elements
VRender provides a variety of graphic elements, but sometimes we need to customize graphic elements, such as needing a graphic element that can play Lottie animations. In this case, we need to customize graphic elements. Customizing graphic elements in VRender requires the following steps:
Define a graphic element class, which is a subclass of Graphic. Of course, you can also directly inherit from an existing graphic element class, such as Rect, Circle, etc.
Implement the drawing logic of the graphic element, which is used for the drawing operations of the graphic element. This class is a subclass of BaseRender. Similarly, you can also directly inherit from an existing graphic element rendering class, such as DefaultCanvasRectRender, DefaultCanvasCircleRender, etc.
Implement the picking logic of the graphic element, which is used for the picking operations of the graphic element. This class implements the IGraphicPicker interface. If your graphic element is in the shape of a rectangle, you can directly inherit from RectPickerBase. Note that in some scenarios (such as mini-programs), picking based on Canvas is not supported, so you need to implement a set of MathPicker logic. However, all picking logics are not complicated, and we will explain them in detail in the following sections.
Next, we will use registering a Lottie graphic element as an example to explain how to customize graphic elements. All the code is in the @visactor/vrender-kits package, and the effect is demonstrated below.
Note: Before reading this section, it is recommended to read the Graphic section first.
Runtime Contribution Module
Custom graphic renderers, pickers, and contributions should be installed through runtime contribution modules. The module receives the lightweight VRender binding context, registers the required tokens, and is then installed through installRuntimeContributionModule() before App creation or with an explicit app.
Preparation
Before writing the code, let's think about the specific implementation plan:
It is easy to determine that the Lottie graphic element is a rectangular area graphic element, and the Lottie animation is played in this graphic element. Therefore, we can directly inherit from the Rect graphic element and add the ability to play Lottie animations to it.
We also found that the Lottie official provides a player lottie-web, which can parse and play Lottie animations. We can use it directly. Therefore, in the rendering logic, we only need to use the official player to draw the animation on our graphic element.
Picking is very simple. We do not need to specifically pick a certain element in the Lottie animation. We only need to pick the entire area where the Lottie animation is played - that is, our graphic element. Therefore, the picking logic can directly reuse the logic of the rectangle.
Before implementing the specific code, let's take a look at how the Lottie official player plays the animation in the demo. We found that the code is very simple. We only need to pass the JSON or URL of the Lottie file, and then wrap it in our graphic element.
Define the Graphic Element Class
First, we need to define the Lottie graphic element class, which inherits from Graphic and has the ILottieGraphicAttribute interface attribute.
First, we define the ILottieGraphicAttribute interface, which is the configuration interface passed to the graphic element, used to define the width, height, position attributes of the graphic element, etc. In the Lottie graphic element, this interface needs to add the data attribute to save the JSON data of the Lottie animation.
type ILottieAttribute = {
  data: string;
};
type ILottieGraphicAttribute = Partial<IRectGraphicAttribute> & Partial<ILottieAttribute>;

interface ILottie extends IGraphic<ILottieGraphicAttribute> {
  lottieInstance?: AnimationItem; // Save the instance of the Lottie player
  canvas?: any; // Save the canvas instance of the Lottie player
}
Next, by inheriting from a Rect graphic element, we implement a Lottie graphic element. We only need to add the management logic of the external Lottie player to the Lottie graphic element, initialize it at the appropriate time, and destroy this player when the graphic element is destroyed.
export classLottieextendsRectimplementsILottie{
type: any = 'lottie';
declare attribute: ILottieGraphicAttribute;
declare lottieInstance?: AnimationItem;
declare canvas?: any;
static NOWORK_ANIMATE_ATTR = NOWORK_ANIMATE_ATTR;
constructor(params: ILottieGraphicAttribute) {
super(params);
this.numberType = LOTTIE_NUMBER_TYPE;
this.initLottieWeb(this.attribute.data);
}
/* When setting attributes, try to reinitialize the Lottie player */ setAttributes(params: Partial<ILottieGraphicAttribute>, forceUpdateTag?: boolean, context?: any): void {
if (params.data) {
this.initLottieWeb(params.data);
}
returnsuper.setAttributes(params, forceUpdateTag, context);
}
setAttribute(key: string, value: any, forceUpdateTag?: boolean, context?: any): void {
if (key === 'data') {
this.initLottieWeb(value);
}
returnsuper.setAttribute(key, value, forceUpdateTag, context);
}
getGraphicTheme(): Required<IRectGraphicAttribute> {
return getTheme(this).rect;
}
/* Initialize the Lottie player */ initLottieWeb(data: string) {
// Must be in a browser environmentif (vglobal.env !== 'browser') {
return;
}
if (this.lottieInstance) {
this.releaseLottieInstance();
}
const theme = this.getGraphicTheme();
const { width = theme.width, height = theme.height } = this.attribute;
const canvas = vglobal.createCanvas({ width, height, dpr: vglobal.devicePixelRatio });
const params: any = {
// wrapper: svgContainer, rendererSettings: {
context: canvas.getContext('2d')
},
animType: 'canvas',
loop: true };
if (typeof data === 'string') {
params.path = data;
} else {
params.animationData = data;
}
this.lottieInstance = bodymovin.loadAnimation(params);
this.canvas = canvas;
// Every time a frame is rendered in Lottie, we need to render the graphic element againthis.lottieInstance.addEventListener('drawnFrame', this.renderNextFrame);
}
renderNextFrame = () => {
this.stage.renderNextFrame();
};
/* Add release logic */ release(): void {
super.release();
this.releaseLottieInstance();
}
releaseLottieInstance() {
this.lottieInstance.removeEventListener('drawnFrame', this.renderNextFrame);
this.lottieInstance.destroy();
this.lottieInstance = null;
}
}
export function createLottie(attributes: ILottieGraphicAttribute): ILottie {
return new Lottie(attributes);
}
Define the Rendering Logic
Our graphic element has been defined. Next, we need to define the rendering logic of the graphic element. We need to define a DefaultCanvasLottieRender class, which inherits from DefaultCanvasRectRender and implements the IGraphicRender interface.
Here, we only need to implement the drawShape interface. When rendering the rectangle, there are two callback functions fillCb and strokeCb. In fillCb, we need to generate a pattern of the Lottie canvas and draw it on the graphic element.
Our Lottie graphic element has been implemented. Next, we need to implement the picking logic. We need to define a DefaultCanvasLottiePicker class, which inherits from RectPickerBase and implements the IGraphicPicker interface. The logic here is very simple because our picking is based on picking a rectangle, so after inheriting the picking class of the rectangle, we don't need to do anything.
Finally, we need to implement the registration logic for graphic element registration, rendering registration, and picking registration.
Graphic Element Registration
Graphic elements do not need to be registered. One thing to note is that the numberType field of the graphic element needs to be consistent with the numberType field of the corresponding rendering class and picking class.
Rendering Registration
Rendering logic needs to be registered through a runtime contribution module. If the renderer inherits a built-in renderer that needs contributions, create the dependency explicitly.
Next, load the relevant runtime contribution modules of the Lottie graphic element and use it. Use installRuntimeContributionModule instead of loading directly into the legacy container. When app is omitted, VRender records the module for future App creation and refreshes existing shared Apps. If an App already exists and you want to install into that App immediately, pass { app, targets }.


